
That's the problem with kits -- you never know what you are going to learn. From this kit, I learned how to cut my own windows (apertures) and work with transparencies -- and how transparencies are the main part of the card.
Some card kits are quick and easy, but this one was time consuming. It took me a couple of days (several hours each day) to cut out all the pieces, figure out what they were doing and assemble all the cards. And they look great! Some of them I already have a use for -- sympathy, birthdays, anniversary....
The first card, I really screwed up on as I had no idea what the instructions were trying to tell me! I did what I THOUGHT they were saying, then two steps later, I learned -- Oh, that's what they were trying to say! If confused at any time, READ AHEAD ON THE INSTRUCTIONS! Fortunately, the card turned out cute!
After learning my lesson from the first card, the next card was even more interesting to make. After you attached the Moon paper between the transparency top and regular front of card, you cut the extra card front off around the right side of the moon, so the moon and transparency top become your front page of the card. I have a sister who loves moons and stars, so she will receive this for her birthday in November. (Card is shown on the envelope so you can see the designs better. Size of the card is size of the transparency.)

For this cute floral birthday card, the transparency heart was added to the top of the card, the cover cut half off and one can see part of the message through the heart.

I loved making this next card. This is the first one I made a window (aperture). By the time I made my last card that required a window, I was (almost) an expert! And to cut the window out AROUND the large butterfly right side wings! Wow! Nice challenge, and the card looks great! The other challenging factor on this card as well as some of the others, is cutting out some of the items -- the butterflies here. They were attached to the butterflies printed on the paper, then the wings were folded up to give them a 3-D effect!

I haven't decided who the recipient will be, so I have not added a sentiment (inside below). This card kit includes sentiments as well as BLANK sentiments so you can write out your own. They had planned this to be a Thank You card, but I don't know....

I loved creating this next card. It is a sympathy card. We lost a dear friend recently, so his family will receive this card from us. It fits Bill's personality.


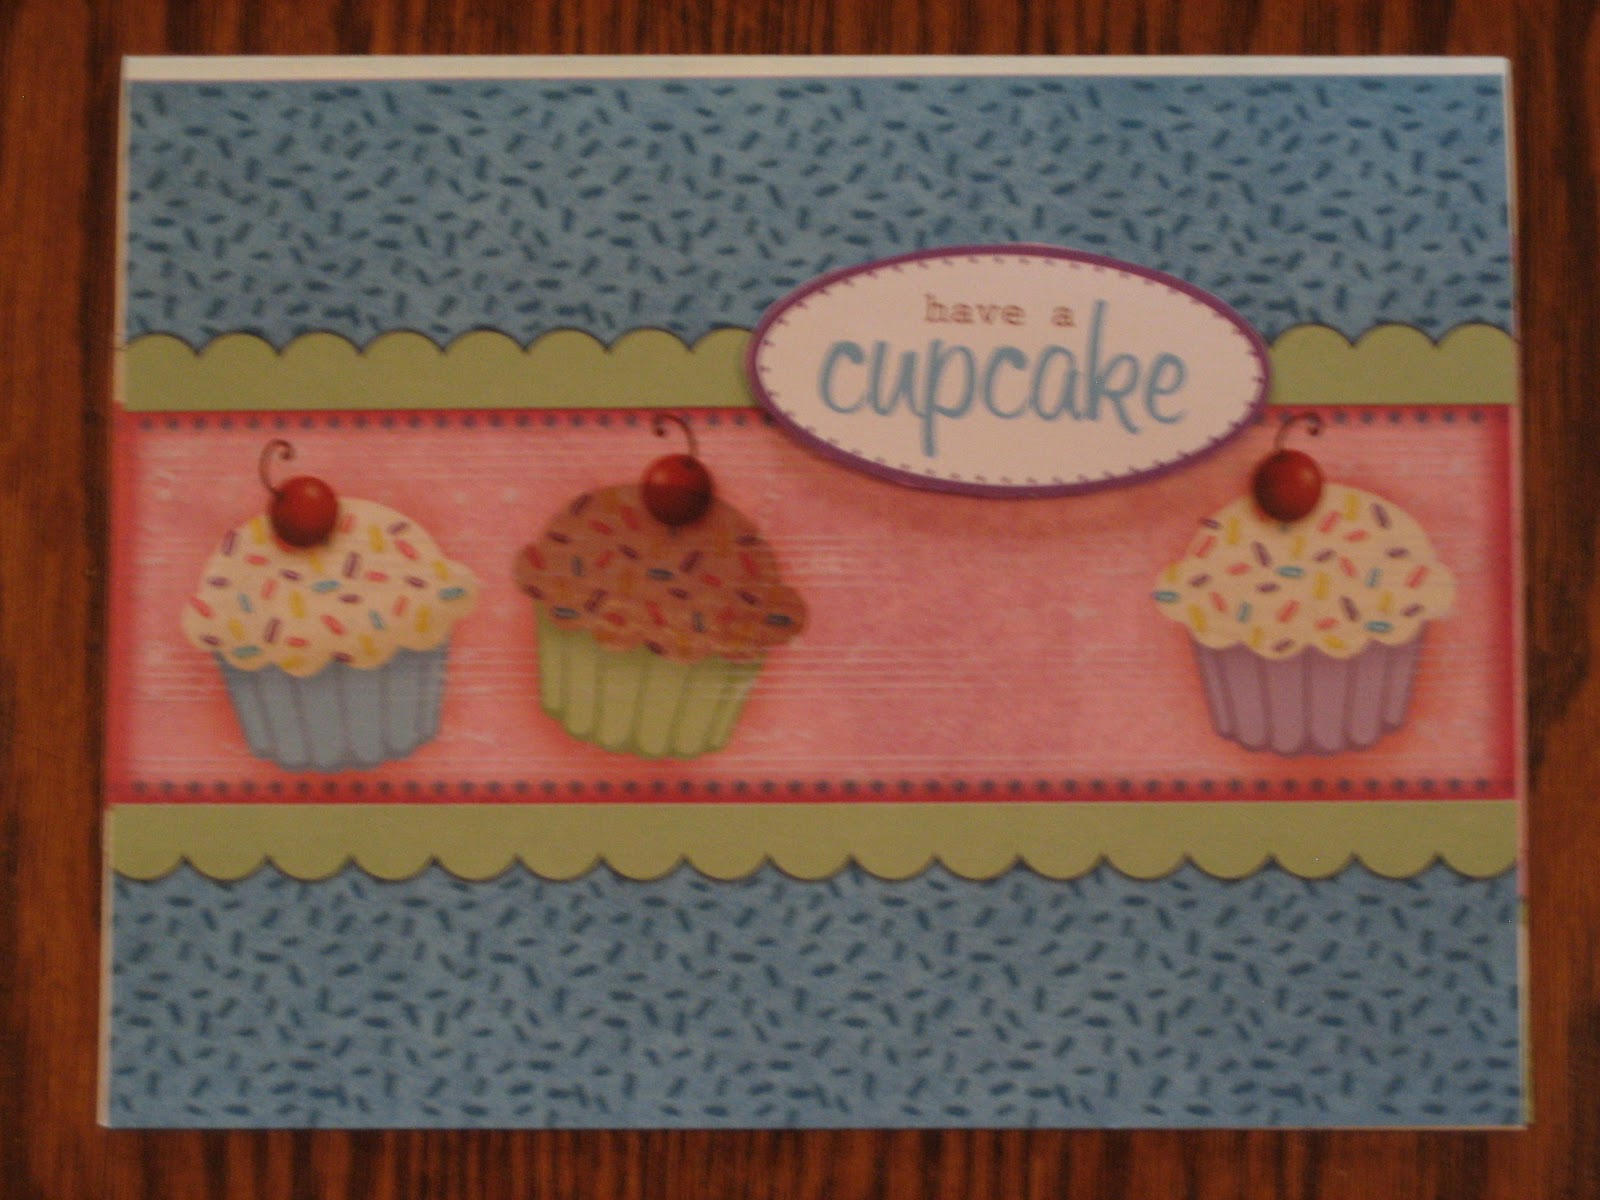
A cute birthday card for a friend or mother.

This one was different -- after refolding the card differently, you added two transparencies....


On this card, I cut away the top of the card and the transparency became the front. Yes, I had to cut out those transparent dragonflies!


This card is the main reason I bought the card kit -- my husband loves antique cars, so he will receive this for his birthday in mid-August.


Some of these cards are a little tricky -- the transparency in the front window will overlay the design inside the card. Notice the bow on the front tag -- got to learn how to fold a paper bow.


These cards were so much fun, taught me some new techniques that I can use in my cards, and got the creative juices flowing again!
When I buy a card kit, I use them for family and friends. I never sell them. The cards I make from scratch are the ones I sell. And, I keep the instructions if there is a technique I want to use in future cards!
Next time you are at your scrapbooking store, check out their greeting card kits. Choose one that has designs you think you can use for family and friends, and then give it a try. Loads of Fun!