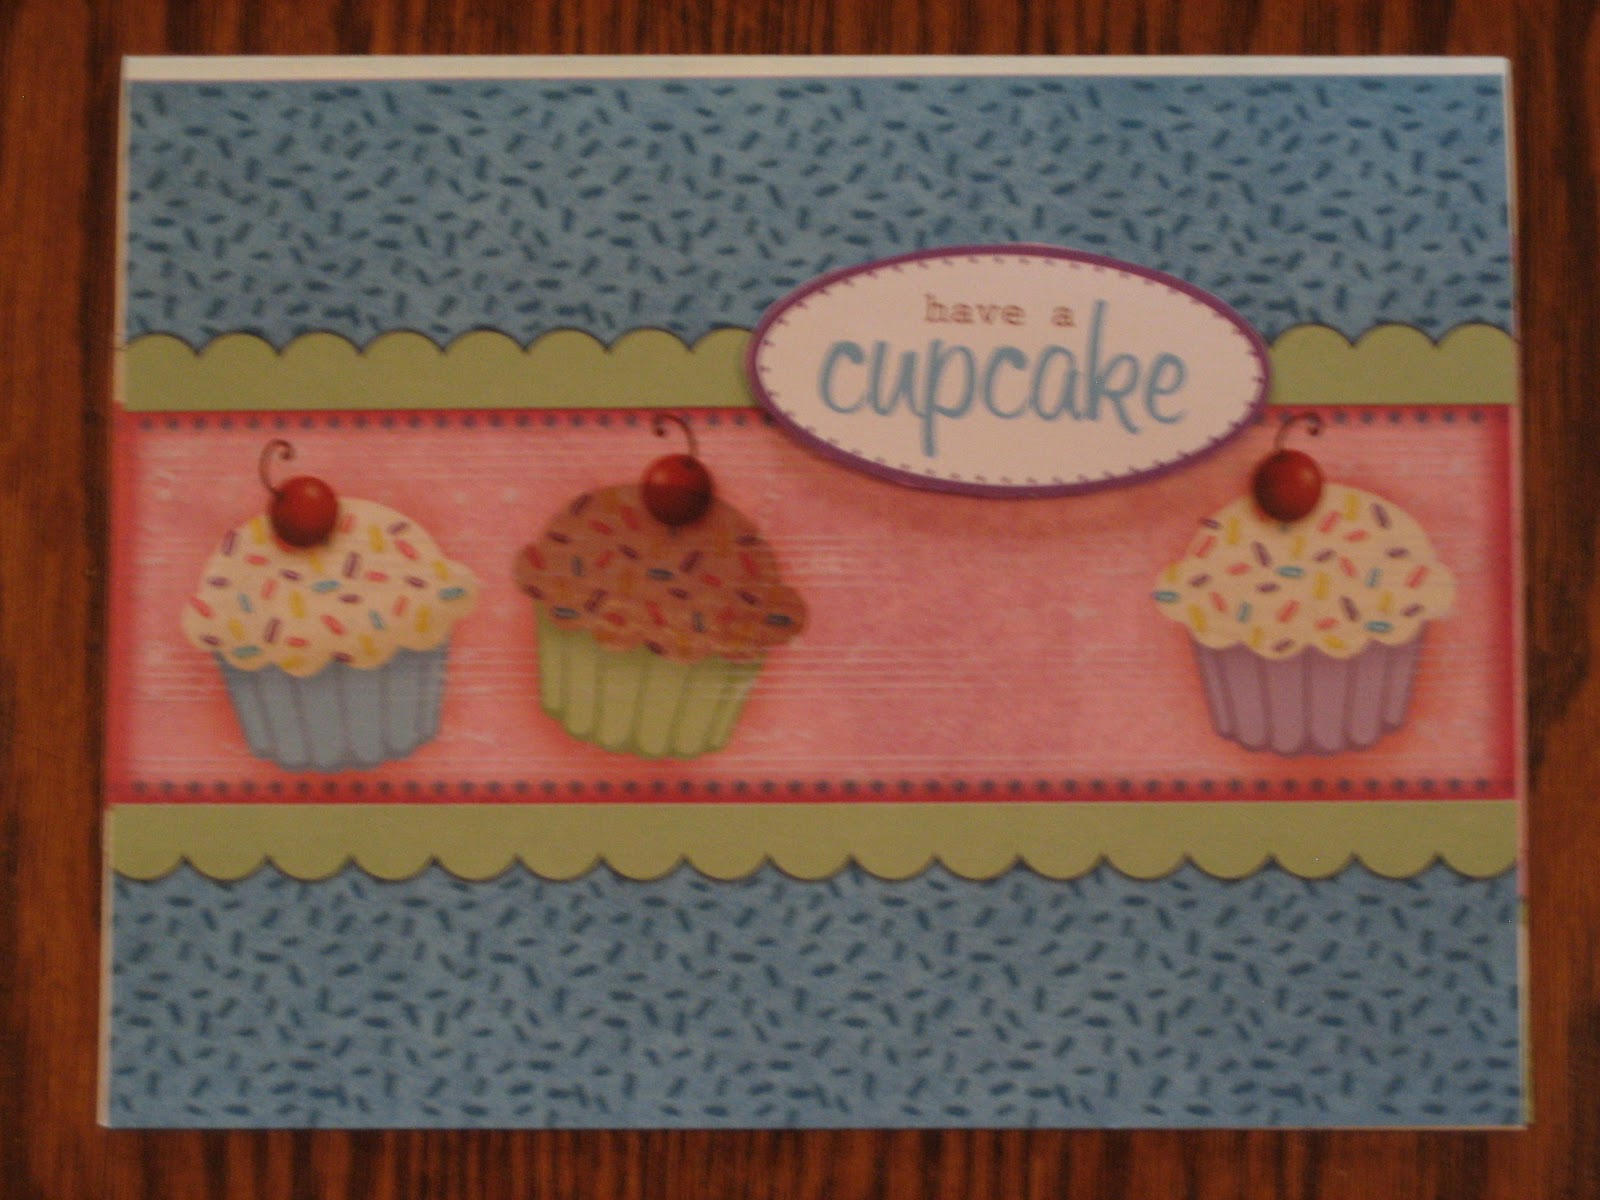
Tuesday, September 11, 2012

Hi Everyone -- 

How many of you use Copic Markers in your greeting cards or scrapbooks?  My younger sister got me started on them. In fact, she got me started in several techniques that I use today in making my greeting cards, though I started making cards several years before she did.  We have lots of fun swapping techniques, tips and rubber stamps when we get together once every year or two to work on projects.

I do not have all the Copic markers yet, but I am working on it...slowly. (Jan is a lot closer to completing the set than I am!)  If you are wondering how to keep track of the Copic markers you have so you do not buy duplicates, check out the Copic Markers website. Feel free to download their chart.  You can also download a chart from the Oozak website. (Just click on the company names which act as Links to their websites.)  Check off or color in the boxes of the markers you have, and no more duplication -- just remember to take the list with you when you go to your favorite stores!

What projects have you completed this summer? With fall almost here, what projects do you have in the works for the winter?  What needs to be completed by Christmas?  I would love to hear of your projects with photos upon completion!

I've been laid up for the past week with a sprained ankle, so no gardening for awhile.  It is all I can do to get out and pick my raspberries. Before I was relegated to crutches with orders to "stay off my feet" (yeah, right!), I did manage to complete a small Memories album for my mother. She lost her partner of 10 years on September 1.  Unfortunately, Gordon did not get to see the album as he passed away while we were enroute to visit them.  I would like to share this album with you.  It is not fancy and not meant to be. It was emotionally difficult to put together, but it has become a comfort to my mother and other family members.  Enjoy the Memories album!


The letters of Gordon's name is in silver -- odd that it became blue in the photo.


Gordon and mom.


Gordon's beloved dog, Schemer.
The following photos are Mom and/or Gordon with various family members over the past couple of years.


 Pillowcases I hand cross-stitched for Mom and Gordon one year for Christmas.


 Yes, I hand cross stitched this tablecloth, and they do use it.

 Addition to the house that Gordon added after he retired.

 Can you believe these used to be cow pastures? Gordon did great work on them! And, yes, that is a Bald Eagle in the lower photo above.

Papers and most sentiments used on this 8 X 8 inch Memory Book are from Creative Memories using the Earthy paper pack.  I used Zutter chipboard front and back cover, and the Zutter Bind-it-All binding kit to bind the completed album.

If you've recently lost a loved one, even though it will be difficult to put together, a Memory Album is a comfort to the family left behind.  And, a treasured keepsake for generations to come!

As this is September 11, prayers to our Soldiers overseas and for the families of those lost during the 9-11 tragedy. Prayers for peace for all of us.

Wednesday, August 22, 2012


This month, I am putting up a second House Mouse Challenge (click on link in title).


I used the House Mouse Baby Blocks HMIR1008 rubber stamp and colored with Copic markers. Used Tim Holtz' Peeled Paint distress ink for edging. Placed on dark blue stock paper and held in place with two diaper pin brads. Standard blue ribbon with blue blings in opposite corners. The background paper is from Tim Holtz Idea-ology Kraft Resist paper stash.  This paper pack is great for background paper.

Hope you like the card!

Saturday, August 18, 2012

House Mouse Double Trouble Challenge
HMFMC126

You know that I love House Mouse rubber stamp designs and products. They are just way too cute!  I've entered a couple of their challenges in the past. Their newest challenge is Double Trouble. Here is my creation:


The script background paper is from the Kaiser Craft Vintage Timeless 6½ inch paper pad. The rest of the paper is regular cardstock.  I colored the Chocolate Heart 02 (HMGR1008) rubber stamp design using Copic markers.  Both the Mouse and "Happy Anniversary" stampings are adhered with foam tape. Ink edges are Copper on the mice and Lipstick Red on the sentiment, both from Color Box ink. The Eggshell and Lime paper roses are both from My Moments.  The black lace on the left side I picked up from our local Sew & Stitchery Expo a couple of years ago.

Inside the card, across the lower left corner, I rubber stamped mouse foot prints, a House Mouse design, Mouse Feet (HMA1002).

If you want to try your hand at this challenge, it ends on August 25, so you have a week to get it done. Follow the House Mouse link above for instructions on how to enter.

Good luck!

Wednesday, August 15, 2012

Hi Everyone!

It has been a long summer and I haven't gotten half the things done that I wanted to -- mainly greeting cards!

I did manage to spend some time in my craft room a couple weekends ago to work on a card for my husband's upcoming 53rd birthday. He likes Owls, so I was planning something related.  I don't know about you, but when I'm planning a new design, I lay it out in my head first, then lay out all my paper, stamps, bling, etc., and lastly, stamp, color and adhere it all together. After two days of going through all my stash and laying it out, this is what I came up with:

Front of the tri-fold card.  All paper on this card is Rugged designer prints from Creative Memories. The Owl rubber stamps are from various manufacturers that we've picked up over the years. Notice the Maple Leaf brad to the lower left of the Owl.

Inside front cover. Notice the Pine Cone brad.


Inside short flap of tri-fold card. Love the Owl ribbon! The blue frame around these Owls are done with the Cricut using the Fancy Frames cartridge.


Inside of the short flap. Sentiments are leftover stock from other projects. The blue edging is created by Tim Holtz' Distressing Ink pads, color Peacock Feathers.


Center inside of tri-fold card.  I used Copic coloring pens for coloring all the Owls. Again, used Tim Holtz distressing ink pads for the edging.

This was fun to put together, but a lot of work.  Only special people in my life will get this kind of card.  I will try simpler designs using this layout for greeting cards I want to sell, in order to make it more affordable.


Do you know what new products are coming out over the next few months?  Our local scrapbook store, Urban Scrapbooker, recently had their CHA preview night.  If you do not know what CHA is, it is the United States' premier expo for manufacturers to show off their upcoming new items to retail stores and websites.  Brooke, owner of Urban Scrapbooker, goes to each CHA (two times a year) and then holds a CHA preview night.  This is the first one my husband and I have been able to attend.  Oh boy!  Did we pre-order a bunch of stuff.  Good thing these items will come in over time over the next several months, as I would hate to get that bill all at once!  So stay tuned -- I will be using new goodies in my card making.

Let me know if you discover a new scrapbooking store or website so I can list it here.

Well, time to get my Creative Memories order in (special offer to save on shipping if I get it in by a certain time today!).  Have a great week everyone!

Wednesday, July 18, 2012

Have you tried Greeting Card Kits?

Have you had a day where you want to make cards, but just cannot get the creative juices running?  Well, have you tried Greeting Card kits?  I love greeting card kits when I need something creative to do, but just cannot get into a creative mood that day.  Here is a card kit I picked up from my local scrapbooking store a couple of months ago.
This Hot off the Press kit cost only $11.50 (+ tax) for 10 cards, I liked the looks of some of the cards shown on the cover, so I decided, What the heck? Wow!!  Did I learn a lot working on this kit!


That's the problem with kits -- you never know what you are going to learn.  From this kit, I learned how to cut my own windows (apertures) and work with transparencies -- and how transparencies are the main part of the card.

Some card kits are quick and easy, but this one was time consuming. It took me a couple of days (several hours each day) to cut out all the pieces, figure out what they were doing and assemble all the cards.  And they look great! Some of them I already have a use for -- sympathy, birthdays, anniversary....

The first card, I really screwed up on as I had no idea what the instructions were trying to tell me!  I did what I THOUGHT they were saying, then two steps later, I learned -- Oh, that's what they were trying to say!  If confused at any time, READ AHEAD ON THE INSTRUCTIONS! Fortunately, the card turned out cute!


After learning my lesson from the first card, the next card was even more interesting to make. After you attached the Moon paper between the transparency top and regular front of card, you cut the extra card front off around the right side of the moon, so the moon and transparency top become your front page of the card.  I have a sister who loves moons and stars, so she will receive this for her birthday in November. (Card is shown on the envelope so you can see the designs better. Size of the card is size of the transparency.)


For this cute floral birthday card, the transparency heart was added to the top of the card, the cover cut half off and one can see part of the message through the heart.  


I loved making this next card. This is the first one I made a window (aperture). By the time I made my last card that required a window, I was (almost) an expert! And to cut the window out AROUND the large butterfly right side wings! Wow!  Nice challenge, and the card looks great! The other challenging factor on this card as well as some of the others, is cutting out some of the items -- the butterflies here. They were attached to the butterflies printed on the paper, then the wings were folded up to give them a 3-D effect!

I haven't decided who the recipient will be, so I have not added a sentiment (inside below). This card kit includes sentiments as well as BLANK sentiments so you can write out your own.  They had planned this to be a Thank You card, but I don't know....


I loved creating this next card. It is a sympathy card. We lost a dear friend recently, so his family will receive this card from us. It fits Bill's personality.
 The inside of the card. You can see the transparency in the front card window on the left.
 The kit includes additional material so you can decorate the envelope if you wish.  It also includes "Created Just for You" type tags to sign your name and attached to the back of each card.


A cute birthday card for a friend or mother.


This one was different -- after refolding the card differently, you added two transparencies....
                Beautiful!
Thinking about giving it to my husband for our anniversary at the end of this month -- or wait until we need a wedding card....decisions, decisions.


On this card, I cut away the top of the card and the transparency became the front. Yes, I had to cut out those transparent dragonflies!
 The front band is glued onto the back and folds into itself in front so the receiver would open it as well as the transparency front to see the inside of the card.


This card is the main reason I bought the card kit -- my husband loves antique cars, so he will receive this for his birthday in mid-August.

 ...And the inside....

Some of these cards are a little tricky -- the transparency in the front window will overlay the design inside the card. Notice the bow on the front tag -- got to learn how to fold a paper bow.
 Of course, the picture did not quite line up so I "ad-libbed" so when closed, the worm was on its proper place on the inside picture. The time dials on front and inside are both transparencies.  Butterflies were cut out to add to the card.


These cards were so much fun, taught me some new techniques that I can use in my cards, and got the creative juices flowing again!

When I buy a card kit, I use them for family and friends.  I never sell them.  The cards I make from scratch are the ones I sell. And, I keep the instructions if there is a technique I want to use in future cards!

Next time you are at your scrapbooking store, check out their greeting card kits. Choose one that has designs you think you can use for family and friends, and then give it a try. Loads of Fun!